Table of Contents
- How Can You Fix a Leaky Faucet Yourself?
- Understanding the Causes of a Leaky Faucet
- Identifying Your Faucet Type
- Tools and Materials You’ll Need for Faucet Leak Repair
- Step-by-Step Guide: How to Fix a Drippy Faucet
- DIY Faucet Repair Tips for Water Savings and Maintenance
- When to Call a Professional Plumber
- FAQs
A dripping faucet is one of the most common home problems. That constant drip can waste over 3,000 gallons of water per year. One drip per second adds up fast on your water bill. If not fixed quickly, a leaky faucet can even result in water damage to cabinets and floors. For major water damage issues, you may need professional leak detection and repair services. The good news? Most homeowners can fix a leaky faucet with basic tools and some patience.
This step-by-step guide works for any type of faucet in your home. Whether you have a bathroom faucet dripping or need kitchen faucet leak repair, we’ll help you stop that annoying leak.
How Can You Fix a Leaky Faucet Yourself?
To fix a leaky faucet, turn off the water supply and plug the drain. Identify your faucet type, then disassemble the handle and check washers, O-rings or cartridges. Replace worn parts, clean components and reassemble. Test for leaks by turning the water back on. Regular maintenance prevents bathroom faucet dripping and drippy faucet issues, saving water and money.

Understanding the Causes of a Leaky Faucet
Common Faucet Problems and Fixes
A faucet leak usually shows up in three ways:
- Water drips from the spout even when the faucet is turned off
- Reduced water flow when you turn on the faucet
- The faucet handle feels loose or hard to turn
Leaky Faucet Causes and Solutions
Here are the most common causes of a dripping faucet:
| Problem | Solution |
|---|---|
| Worn-out rubber washer | Replace the washer at the bottom of the stem |
| Damaged o-ring | Install new o-ring behind the handle |
| Corroded valve seat | Clean or replace the valve seat |
| Loose packing nut | Tighten with a screwdriver |
For more complex pipe issues, you might need our ultimate guide to pipe leak repair.
Why Does My Bathroom Faucet Keep Dripping?
Bathroom faucets get more use than kitchen faucets. The constant turning on and off causes parts to wear out over time. Hot and cold water also makes rubber parts break down faster. A leaky bathroom faucet usually needs a new washer or cartridge.
Identifying Your Faucet Type
Before you start your DIY faucet repair, you need to know what type of faucet you have. This helps you get the right replacement part.
Compression Faucets
- Have two handles (one for hot, one for cold)
- Use rubber washers and tap washers
- Common in older homes
- Easy to fix with basic tools
Cartridge Faucets
- Can have single handle or double handle design
- The cartridge controls the flow of hot and cold water
- Replace the cartridge to fix most leaks
Ceramic Disk Faucets
- Usually have one handle
- Very durable but need special seals
- Less common but long-lasting
Ball Faucets
- Single handle design
- Complex inside with ball bearings and springs
- Most common in kitchen sinks
Tools and Materials You’ll Need for Faucet Leak Repair

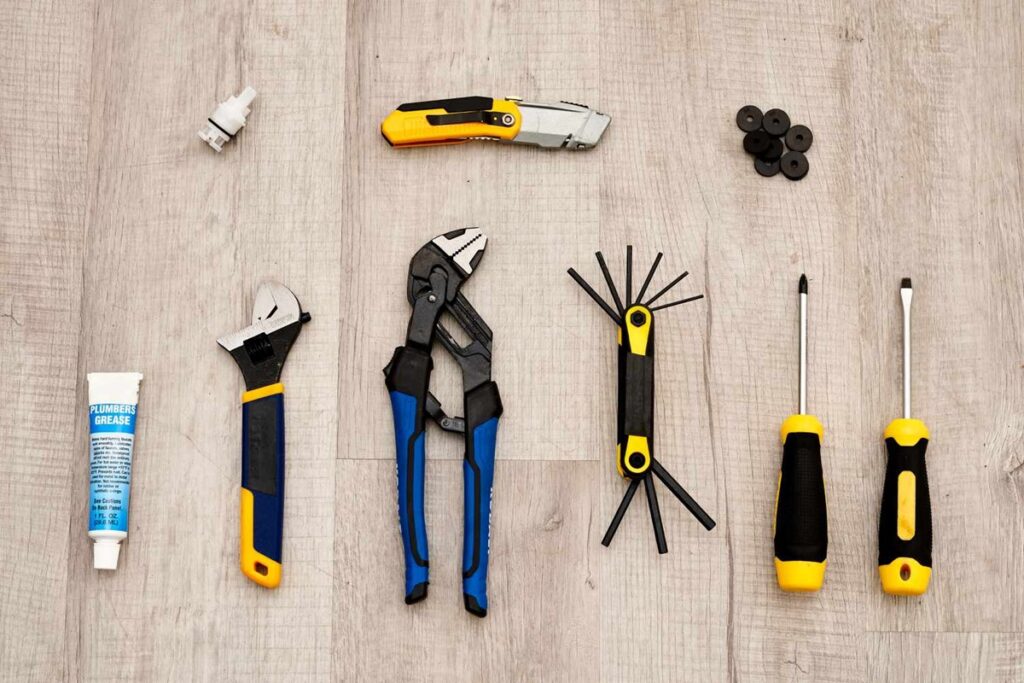
Basic Tools List:
- Adjustable wrench
- Screwdriver (both flathead and Phillips)
- Needle-nose pliers
- Cloth or towel
Faucet Repair Kits and Replacement Parts
Most hardware stores sell repair kits for each faucet type. These kits include:
- New washers and o-rings
- Replacement cartridge
- Plumber’s grease
- Basic instructions
Washer Replacement for Faucet
The rubber washer sits at the bottom of the stem. When this washer gets worn-out, water drips from the spout. Measure your old washer to get the right size replacement part.
Faucet Cartridge Replacement
A cartridge controls water flow in many modern faucets. If your faucet still drips after replacing washers, you likely need to replace the cartridge.
Step-by-Step Guide: How to Fix a Drippy Faucet
Step 1 – Turn Off the Water Supply
First, shut off the water supply. Look for the shut-off valve under the sink. Turn it clockwise to stop water flow. If you can’t find the valve under the sink, use your home’s main shutoff valve.
After you shut off the water, turn on the faucet to drain any remaining water in the line.
Step 2 – Plug the Drain to Avoid Losing Parts
Put a cloth or towel in the drain. This prevents small screws and washers from falling down the pipe. Small parts are hard to replace if you lose them.
Step 3 – Disassemble the Faucet Handle
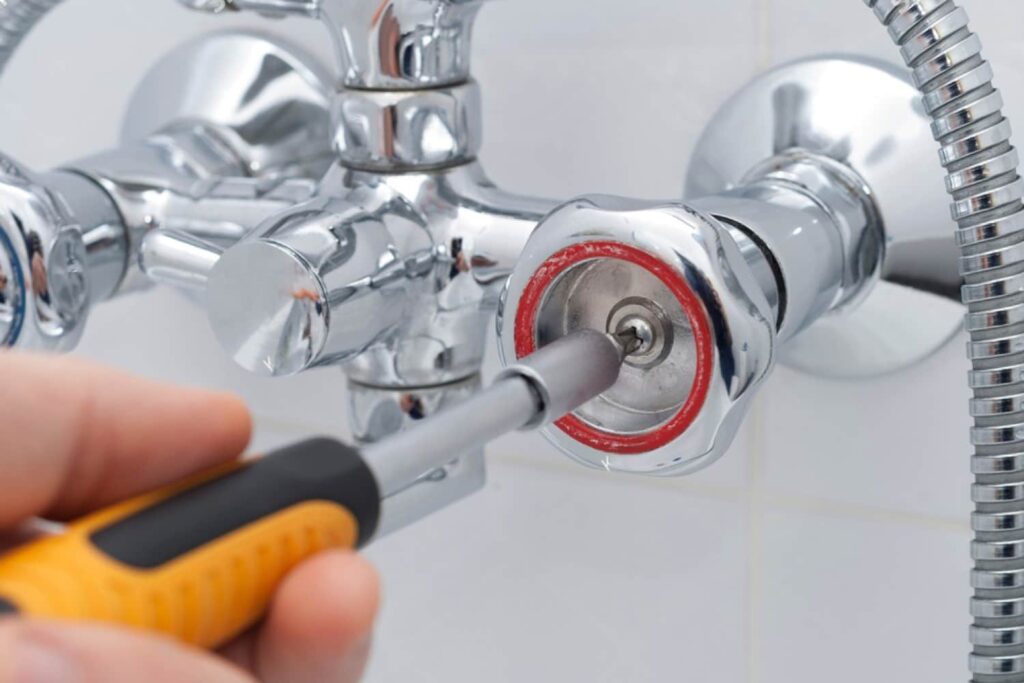
Remove the faucet handle first. Look for a top screw that holds the handle in place. Some handles have decorative caps that hide the screw.
Use your screwdriver to unscrew the handle. Then unscrew the packing nut behind the handle. This gives you access to the faucet stem.
Step 4 – Inspect and Diagnose the Problem
Once you remove the handle, look at all the parts. Check the:
- Rubber washer at the bottom of the stem
- O-ring behind the handle
- Cartridge (if your faucet has one)
- Valve seat where the stem sits
Look for cracks, tears, or mineral buildup on these parts.
Step 5 – Replace Worn Washers, O-Rings, or Cartridges
Replace any worn-out parts you found. Make sure your replacement part matches exactly. Even small differences can cause the faucet to leak.
For compression faucets, replace the rubber washer and o-ring. For cartridge faucets, you may need to replace the cartridge entirely.
Step 6 – Clean and Lubricate Faucet Parts
Before you reassemble the faucet, clean all parts with warm water. Remove mineral deposits with white vinegar. Put a small amount of plumber’s grease on threads and moving parts.
Step 7 – Reassemble the Faucet and Test for Leaks
Put everything back together in reverse order. Don’t over-tighten screws – this can damage threads or crack parts.
Turn the water supply back on slowly. Check for leaks around the handle and spout. If you still see drips, you may need to loosen and retighten connections.
DIY Faucet Repair Tips for Water Savings and Maintenance
How to Stop a Dripping Tap Efficiently
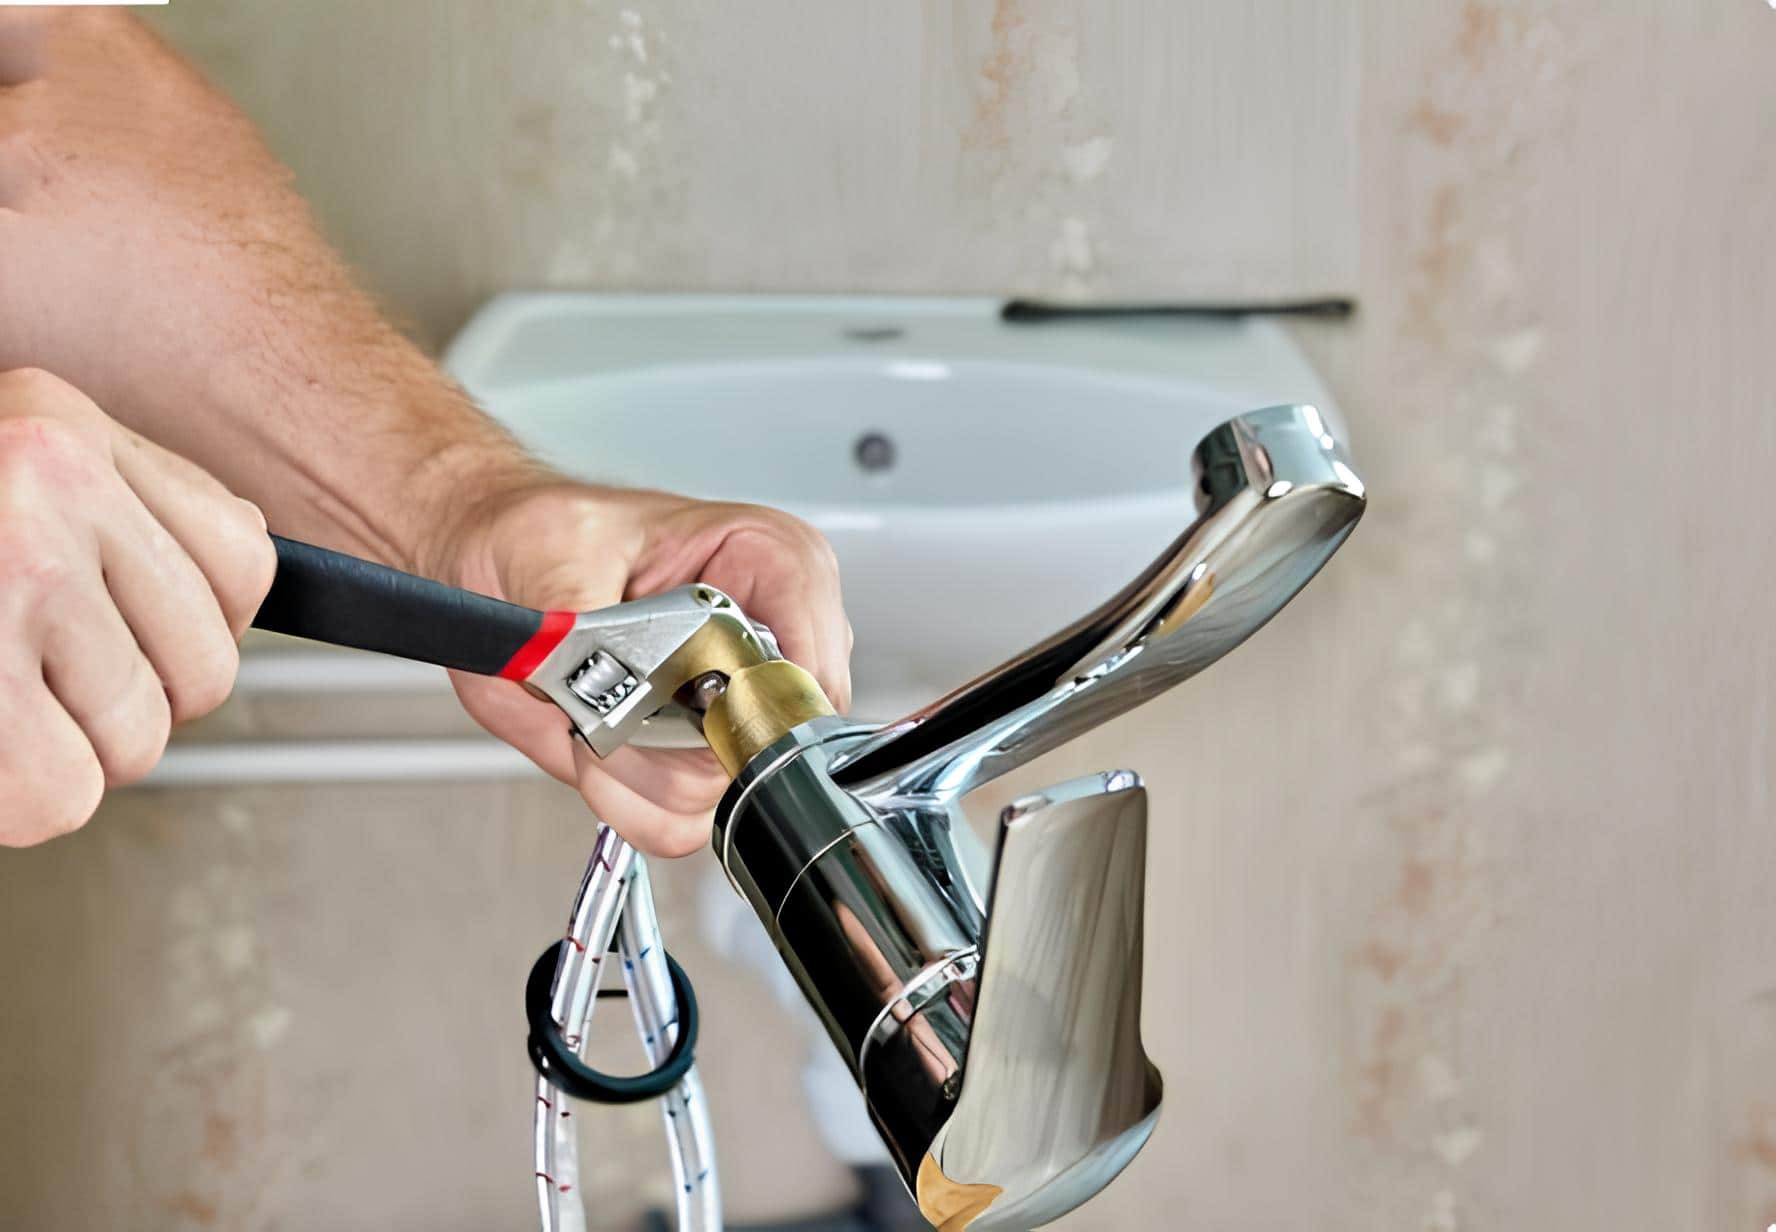
For quick fixes, try tightening the packing nut first. Sometimes a loose connection causes small leaks. If this doesn’t work, you’ll need to replace internal parts.
Water-Saving Tips for Faucets
- Install aerators on all faucets to reduce water flow
- Fix leaks quickly to prevent water damage
- Consider replacing old faucets with water-efficient models
- Check faucets monthly for small drips
- Learn about different types of plumbing pipes when upgrading your system
Plumbing Maintenance for Faucets to Prevent Future Leaks
Regular maintenance keeps your faucets working properly:
| Maintenance Task | How Often |
|---|---|
| Check for small leaks | Monthly |
| Clean aerators | Every 3 months |
| Replace washers and o-rings | As needed |
| Deep clean valve seats | Yearly |
When to Call a Professional Plumber
Signs Your Faucet Needs Replacement
Sometimes repair isn’t the best choice. Replace your faucet if:
- The valve seat is badly corroded
- Multiple repairs haven’t fixed the leak
- The faucet is very old and parts are hard to find
- You see rust or mineral buildup that won’t clean off
For bathroom renovations that include new fixtures, consider professional bathroom and kitchen renovation services.
Complex Faucet Issues Beyond DIY Repair
Call a professional plumber for:
- Leaks behind walls
- Problems with water supply lines
- Major valve seat damage
- Expert fixture installation and repair
If you’re dealing with other plumbing issues beyond faucets, check out our residential pipe repair services for comprehensive solutions.
Frequently Asked Questions
Q1: How do I identify the type of faucet I have?
Remove the handle and look at the internal parts. Compression faucets have washers and stems. Cartridge faucets have a removable cartridge. Ball faucets have a ball mechanism inside.
Q2: What causes a bathroom faucet to drip constantly?
Usually worn washers, damaged o-rings, or old cartridges. These parts wear out over time from regular use.
Q3: Can I fix a leaky faucet myself?
Yes! Most faucet leaks are easy DIY projects. You just need basic tools and replacement parts.
Q4: How do I stop a dripping tap quickly?
Turn off the water supply, remove the handle, find the worn part, replace it, and reassemble the faucet.
Q5: Is it better to repair or replace a leaky faucet?
Repair first if the faucet is newer and in good shape. Replace if it’s old or has multiple problems.
Q6: What water-saving tips can help reduce faucet leaks?
Fix drips quickly, maintain your faucets regularly, and install water-efficient models when you need to replace old ones.
A drippy faucet doesn’t have to result in water damage or high bills. With these simple steps, any DIYer can fix most faucet problems at home. Remember to turn off the water supply, take your time, and don’t hesitate to call a professional if you run into complex issues. For comprehensive plumbing support in Los Angeles, explore our full range of professional plumbing services.


1 thought on “How to Fix a Leaky Faucet: A Complete Guide”