How Do You Attach a Drain to a Sink?
Attaching a drain to a sink requires applying plumbers’ putty around the drain flange, inserting it into the drain hole, then securing with a gasket and nut underneath. Connect the tailpiece to your P-trap and test for leaks. Don’t overtighten connections. This sink drain installation works for both kitchen and bathroom sinks.
Why Proper Drain Installation Matters
The Value of a Correctly Installed Sink Drain
A well-installed sink drain stops leaks, bad smells and water damage. When your sink drain parts aren’t connected right, you might face costly repairs and mold growth under the sink. Taking time to set up your sink drain correctly saves money and prevents problems later.
What You’ll Learn: Bathroom Sink Drain Setup & Kitchen Drain Installation
This guide shows you how to attach drains to both bathroom and kitchen sinks. We cover everything from basic sink drain parts to connecting drain pipes for both types of sinks.
Pipe Installation & Repair Services
Expert bathroom and kitchen renovation services
Expert Drain Cleaning & Unclogging Services
Tools and Materials You’ll Need for Attaching Your Sink Drain
Tools Checklist
- Adjustable wrench
- Channel-lock pliers
- Pipe wrench
- Basin wrench
- Putty knife
- PVC cutter or hacksaw
- Bucket (to catch water)
- Clean rags
Materials Checklist
- Sink drain assembly kit (basket strainer for kitchen, pop-up drain for bathroom)
- P-trap kit
- Drain tailpiece
- Slip-joint nuts and washers
- Plumbers putty or sealant
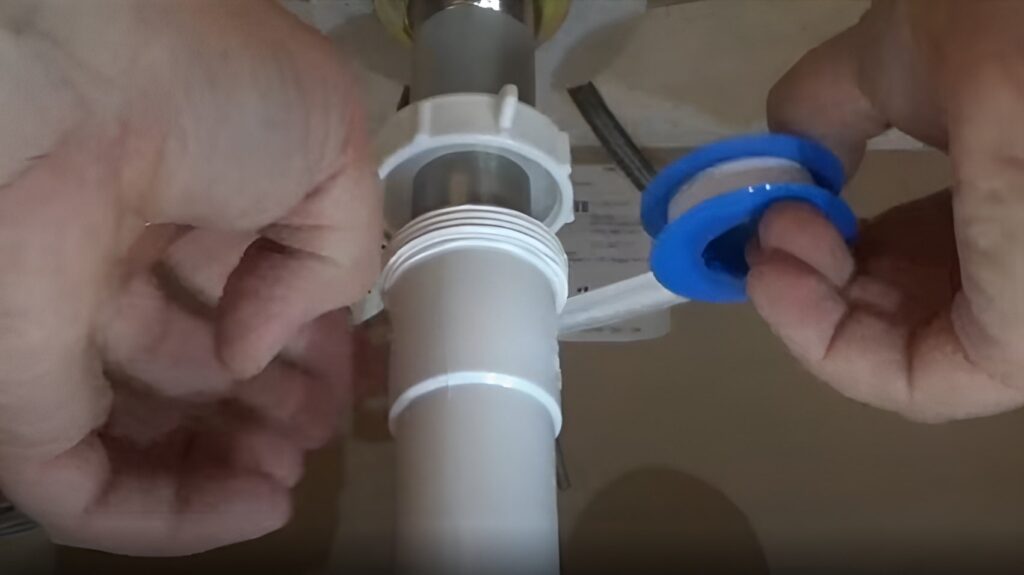
- Pipe thread tape
- Trap adapter (if needed)
Getting Ready: Preparing for a Smooth Sink Drain Setup
Safety First: Steps Before You Start
Turn off the water supply to the sink. Place a bucket under the sink to catch any water that may come out when you remove the old drain pipe.
Taking Out Old Sink Drain Plumbing (If Needed)
To remove the old drain, unscrew the nuts connecting the p-trap and tailpiece. Use pliers if the connections are tight. Then, from inside the sink, unscrew the drain flange or use a wrench on the locknut from under the sink.
Cleaning the Sink Opening and Drain Pipe Areas
Clean the drain hole area well, removing old putty from the sink bowl. Wipe down the waste pipe in the wall to make sure it will connect well with your new drain parts.
How to Fix a Clogged Pipe: Complete Guide to Drain Problems
Bathroom Sink Drain Installation: Step-by-Step

Getting the Bathroom Sink and Drain Area Ready
Clear the space under the sink for easy access. Check that your new drain parts match the sink’s drain hole size, usually 1¼ inches for a standard sink.
Putting Together the Bathroom Sink Drain Parts
Adding Plumber’s Putty to the Drain Flange
Roll plumbers putty into a rope and wrap it around the bottom of the drain flange. If using sealant instead, apply a thin line around the outside of the drain flange.
Fixing the Drain Flange and Body in the Sink
Put the drain flange into the drain hole from inside the sink. From under the sink, attach the gasket and washer, then screw the nut onto the threaded part of the drain. Make the nut tight with pliers, but not too tight as this could break the sink.
Setting Up Pop-Up Drain Parts (If Needed)
If you’re adding a pop-up drain, put the stopper in from above. Then connect the pivot rod to the stopper and clevis strap from below. Adjust until the pop-up works smoothly.
How to Connect Bathroom Sink Drain: Joining to Existing Plumbing
Attaching the Tailpiece to the Sink Drain
Slide the slip-joint nut and washer onto the tailpiece, then fit it onto the threaded end of the drain. Hand tighten the nut, then turn it a quarter more with pliers.
Setting Up and Connecting the P-Trap
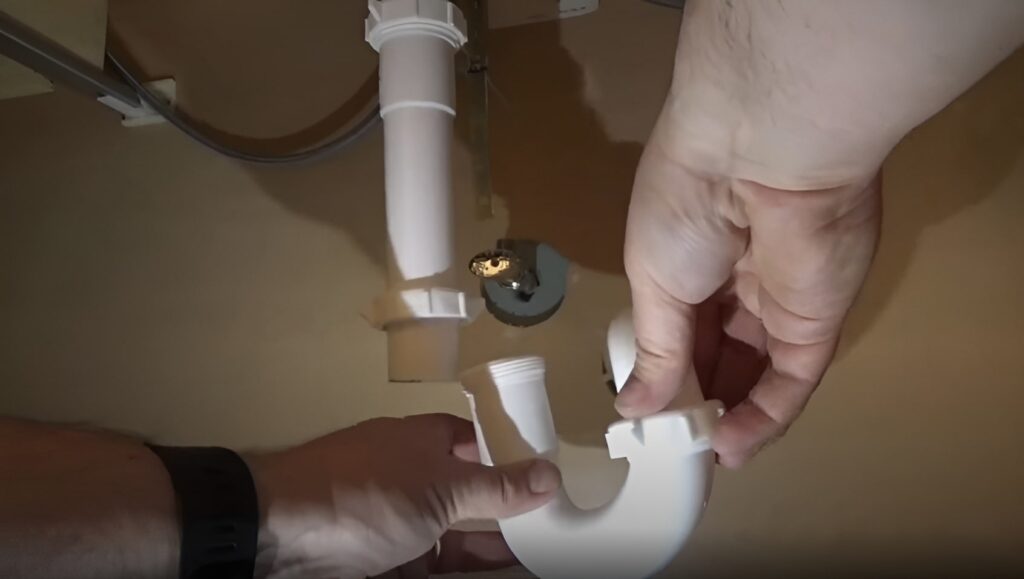
Connect the p-trap to the drain tailpiece using slip-joint nuts and washers. Make sure the p-trap forms a U-shape to hold water that blocks sewer gases.
Lining Up and Connecting to the Wall Drain Pipe
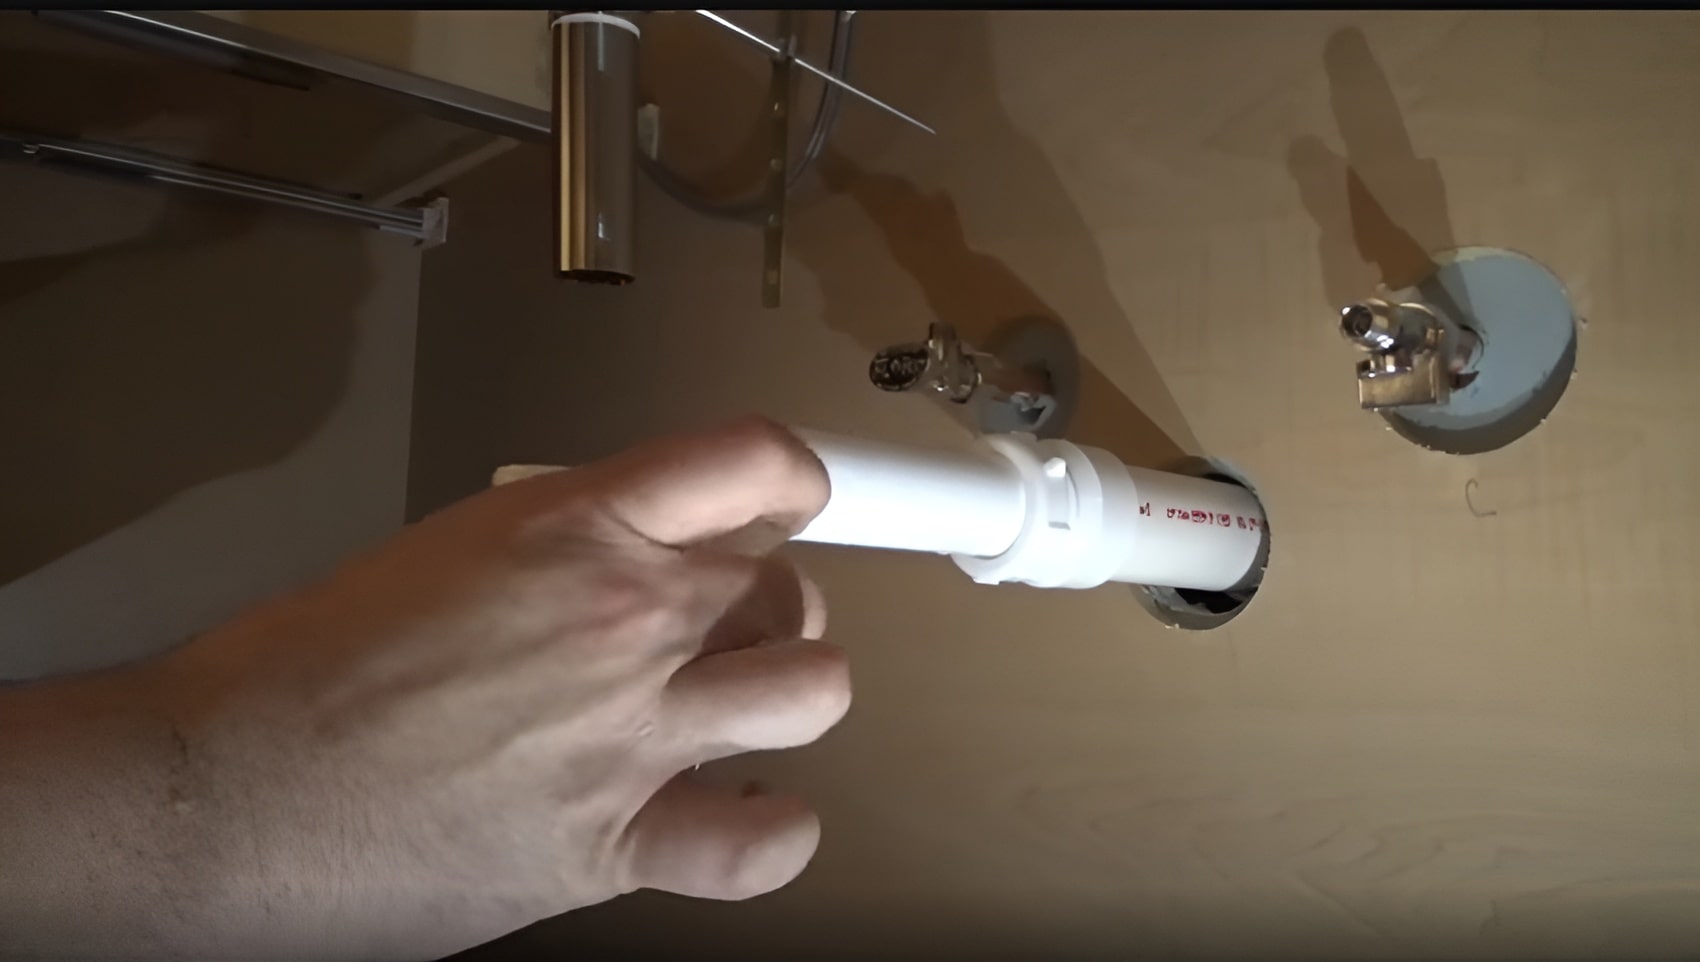
Measure and cut the pipe that connects the p-trap to the branch drain pipe in the wall. Use a trap adapter if needed to connect different pipe sizes. Make all connections firm but not too tight.
Testing for Leaks in Your New Bathroom Sink Drain
Water Flow Check
Fill the sink with water, then let it drain to test the system. Watch for leaks at all connection points.
Making Adjustments for a Watertight Seal
If you see leaks, tighten the nut at the bottom of connections slightly. If the leak continues, check that the washers are properly seated.
Kitchen Sink Drain Installation: Key Differences

How to Install a Kitchen Sink Drain Pipe: One vs. Two Basins
Standard Kitchen Sink Drain Connection (Basket Strainer)
Kitchen sink drains usually use a basket strainer instead of a pop-up drain. Apply plumbers’ putty around the drain flange, then insert it from the top. From under the sink, attach the rubber gasket, metal washer and locknut. Tighten with pliers while holding the strainer in place from above.
Setup for Double Bowl Sinks
For double kitchen sink drains, you’ll need a waste pipe that connects both drains before joining the p-trap. Make sure the pipe slopes slightly toward the p-trap.
Connecting Drain Pipes Under the Kitchen Sink
Using Slip-Joint Methods for Secure Connections
Connect all pipe joints using slip-joint nuts and washers. Hand tighten the nut first, then use pliers to tighten a quarter turn more.
Making Sure Kitchen Sinks Have Proper Venting
Kitchen drains need good venting to prevent slow drainage. If you notice gurgling, you may need a plumber to check your vent system.
Testing Your Kitchen Drain Installation
Fill the sink and drain it while checking all plumbing connections for leaks. Make sure the water flows freely without backing up.
Common Problems & Good Solutions for Sink Drain Plumbing
How to Put Sink Drain Parts Together Correctly
Always follow the maker’s instructions when setting up your sink drain parts. Make sure all gaskets and washers sit properly before tightening nuts.
Making New Drains Work with Old Pipes
When connecting a new sink to an old drain, you may need an adapter to join different pipe materials or sizes. Measure carefully and use the right fitting.
Fixing Slow Drains
If you notice slow drainage after your new sink setup, check that the p-trap and drain pipe have the right slope. A water pressure device might be needed for water supply issues, though this is separate from drain line problems.
When to Call a Plumber
Hard Cases Needing Expert Help
Call a plumber if you find:
- Rusted or damaged pipes that need replacement
- Misaligned drain pipes that won’t connect properly
- Ongoing leaks despite your best efforts
- Building code concerns
A plumber can solve hard problems quickly and make sure your setup meets local building rules.
Final Thoughts: Enjoy Your Working, Leak-Free Sink
Setting up a new sink drain might seem hard, but with the right tools and careful work, it’s a project you can do yourself. Take your time with each step, especially when tightening connections. If you’re not sure at any point during your bathroom and kitchen work, don’t wait to contact a professional.
By following this guide, you’ll have a working sink drain that stops leaks and drains well for years to come.


